How to Have a Maintenance Free Log Home
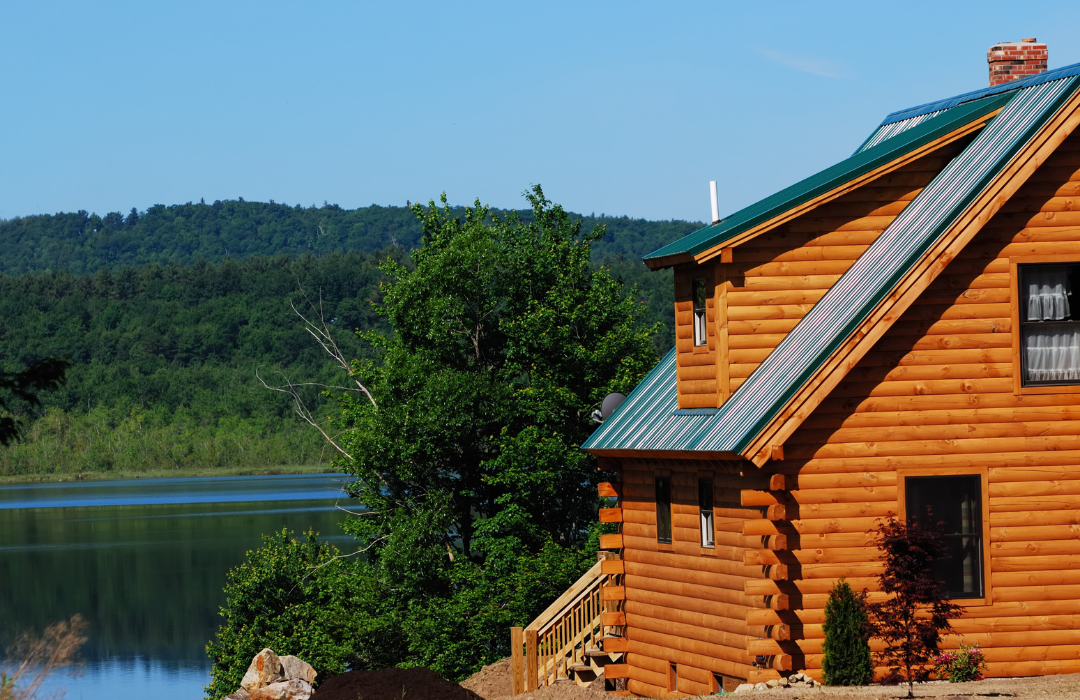
I attend several trade shows each year and regularly get asked to be on a panel of experts to field questions for potential log homeowners. It seems that the majority of these questions revolve around ways to design a new cabin or improve a current cabin for ease of maintenance. Below I have compiled a list of ideas and recommendations to consider reducing the total amount of log home maintenance. In many cases, these features can even be retrofitted on current long cabins to improve performance in the future.
1) Build in a Dry Arid Climate
First thing first, I hear the following argument all the time. “My uncle has a cabin that is 100 years old, and he has never done anything to it and it is in perfect shape.” While I’m sure that is not completely true, I also understand the point they are making. There are definitely environments that are significantly more accommodative to a log home. So if possible build your log home in a dry arid climate. For those of us who don’t want to live in a desert, make sure you utilize as many of the below features as you can and do regular maintenance.
2) Reduce Moisture and UV Exposure
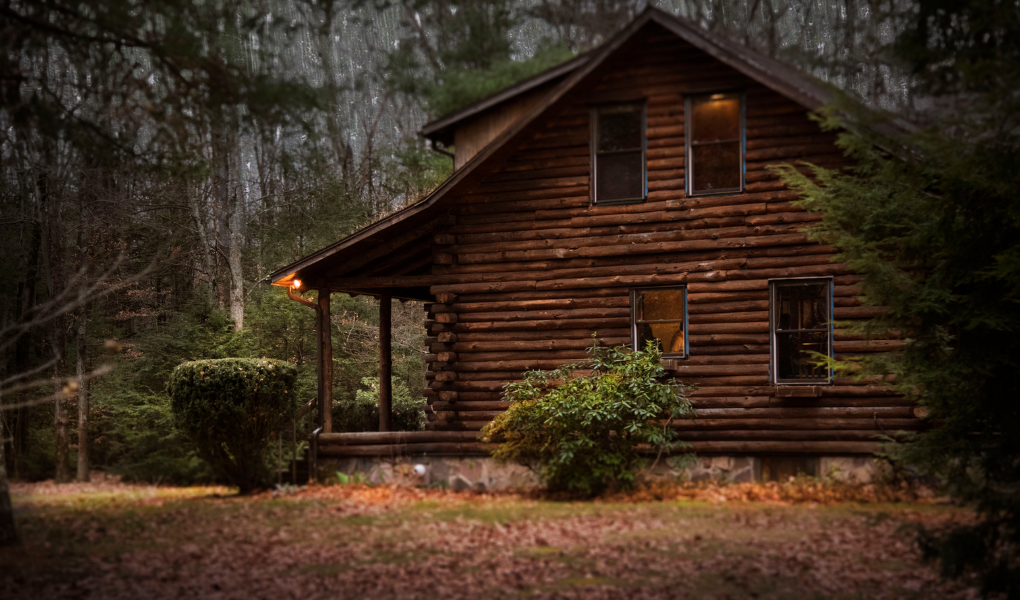
So, with that said let's dive in. The two most detrimental factors for wood are moisture and UV exposure. Logs can start rotting in as little as 2 years with UV degrading wood fibers at a rate of 1/4” every 100 years. Logs left to Mother Nature do not last long as they start to decay and break down rapidly. Usually, there are multiple factors acting against the logs simultaneously, like moisture, UV, wood-ingesting insects, fungus, vines crawling up them, etc... Add all these negative factors together and you can have issues in very short order.
So the first goal is to keep as much moisture and UV off of your logs as possible.
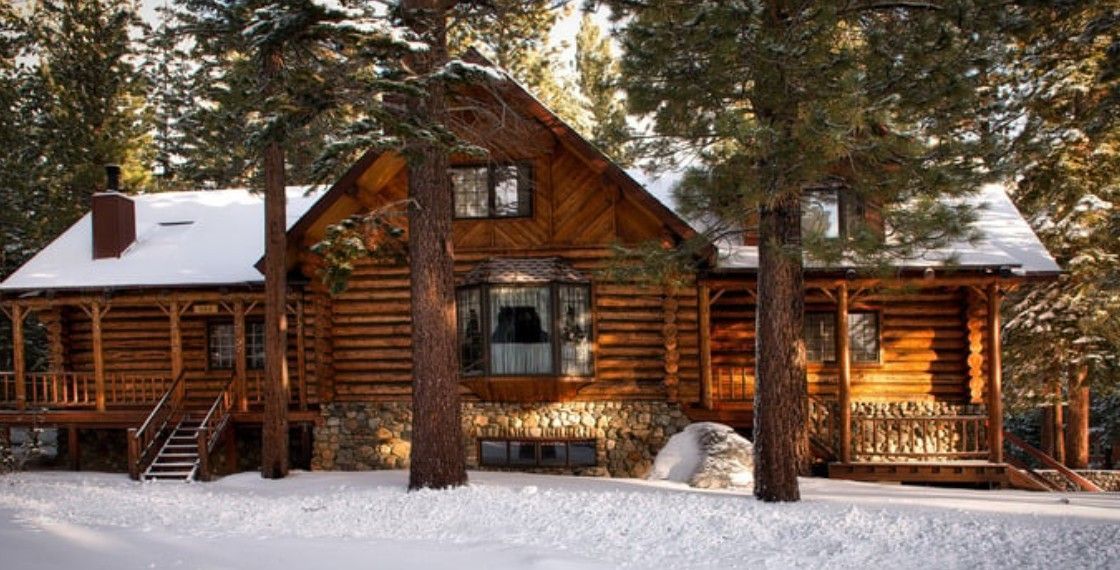
The best way to do this is to ensure that you have large overhangs. I think 4-foot overhangs are ideal. I know this is not practical in many of the traditional designs, so I’ll strongly recommend a minimum of 2 feet. You need to pay special attention to the south-facing side of your log home and any other areas that will be exposed to higher levels of the sun for a large part of the day. This can be unique to each home.
3) Decks and Wrap Around Porches
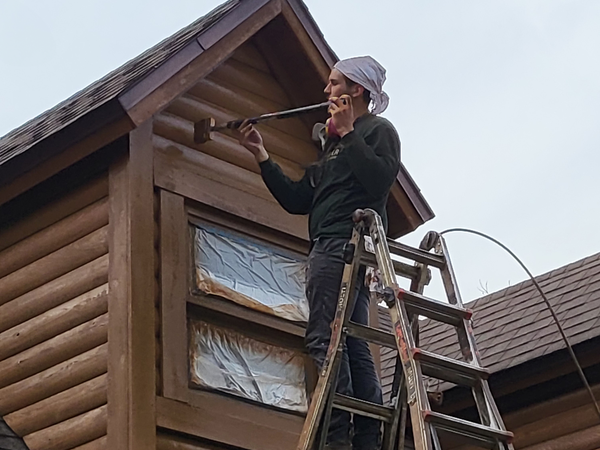
You should also consider decks and wrap-around porches, not only as a way to protect your logs, but also as a way to access your logs for future maintenance. I know I go to log homes several times a year where I have a conversation that goes like this:
Me: The hardest part of this job is going to be getting up to your logs. The terrain is very steep and I can’t get a lift in this area. This side is 40+ feet from the ground level to the first row of logs. I am probably going to have X days worth of setting up and tearing down scaffolding.
Owner: I understand. That is why we haven’t put stain on that side of the house for the last 20 years and now it needs to be media blasted.
Me: Have you ever considered having a deck installed? It could save you a significant amount of money over the years in scaffolding and maintenance costs.
My point is this, make sure you have access to your logs, or at minimum a plan for future access. Building on the side of a cliff with 290-degree views is great. But make sure there is a way to work on those logs. It is not unheard of to spend multiple days and tens of thousands of dollars building hanging scaffolding, installing temporary platforms, and setting up scaffolding to work from. This is usually a cost that could have been avoided in the design of the structure.
4) Log Profiles and Corner Joints
Speaking of design, let's talk about log profiles and corner joint options. From a maintenance standpoint, flat logs will have less maintenance. More of the UV will be deflected and there is less of a purchase for debris and moisture to accumulate and soak in. Round logs are more of a challenge as sunlight will be hitting the top curvature of those logs at a 90-degree angle with significant penetration. The bottom curvature deflects most of the UV, resulting in significantly different conditions on the logs on top vs bottom. It is not uncommon to see the top of the logs with no protection left and grey in color due to UV damage and the bottom half of each log is still in great shape with adequate protection. This can be unsightly and very costly to restore.
5) Chinking
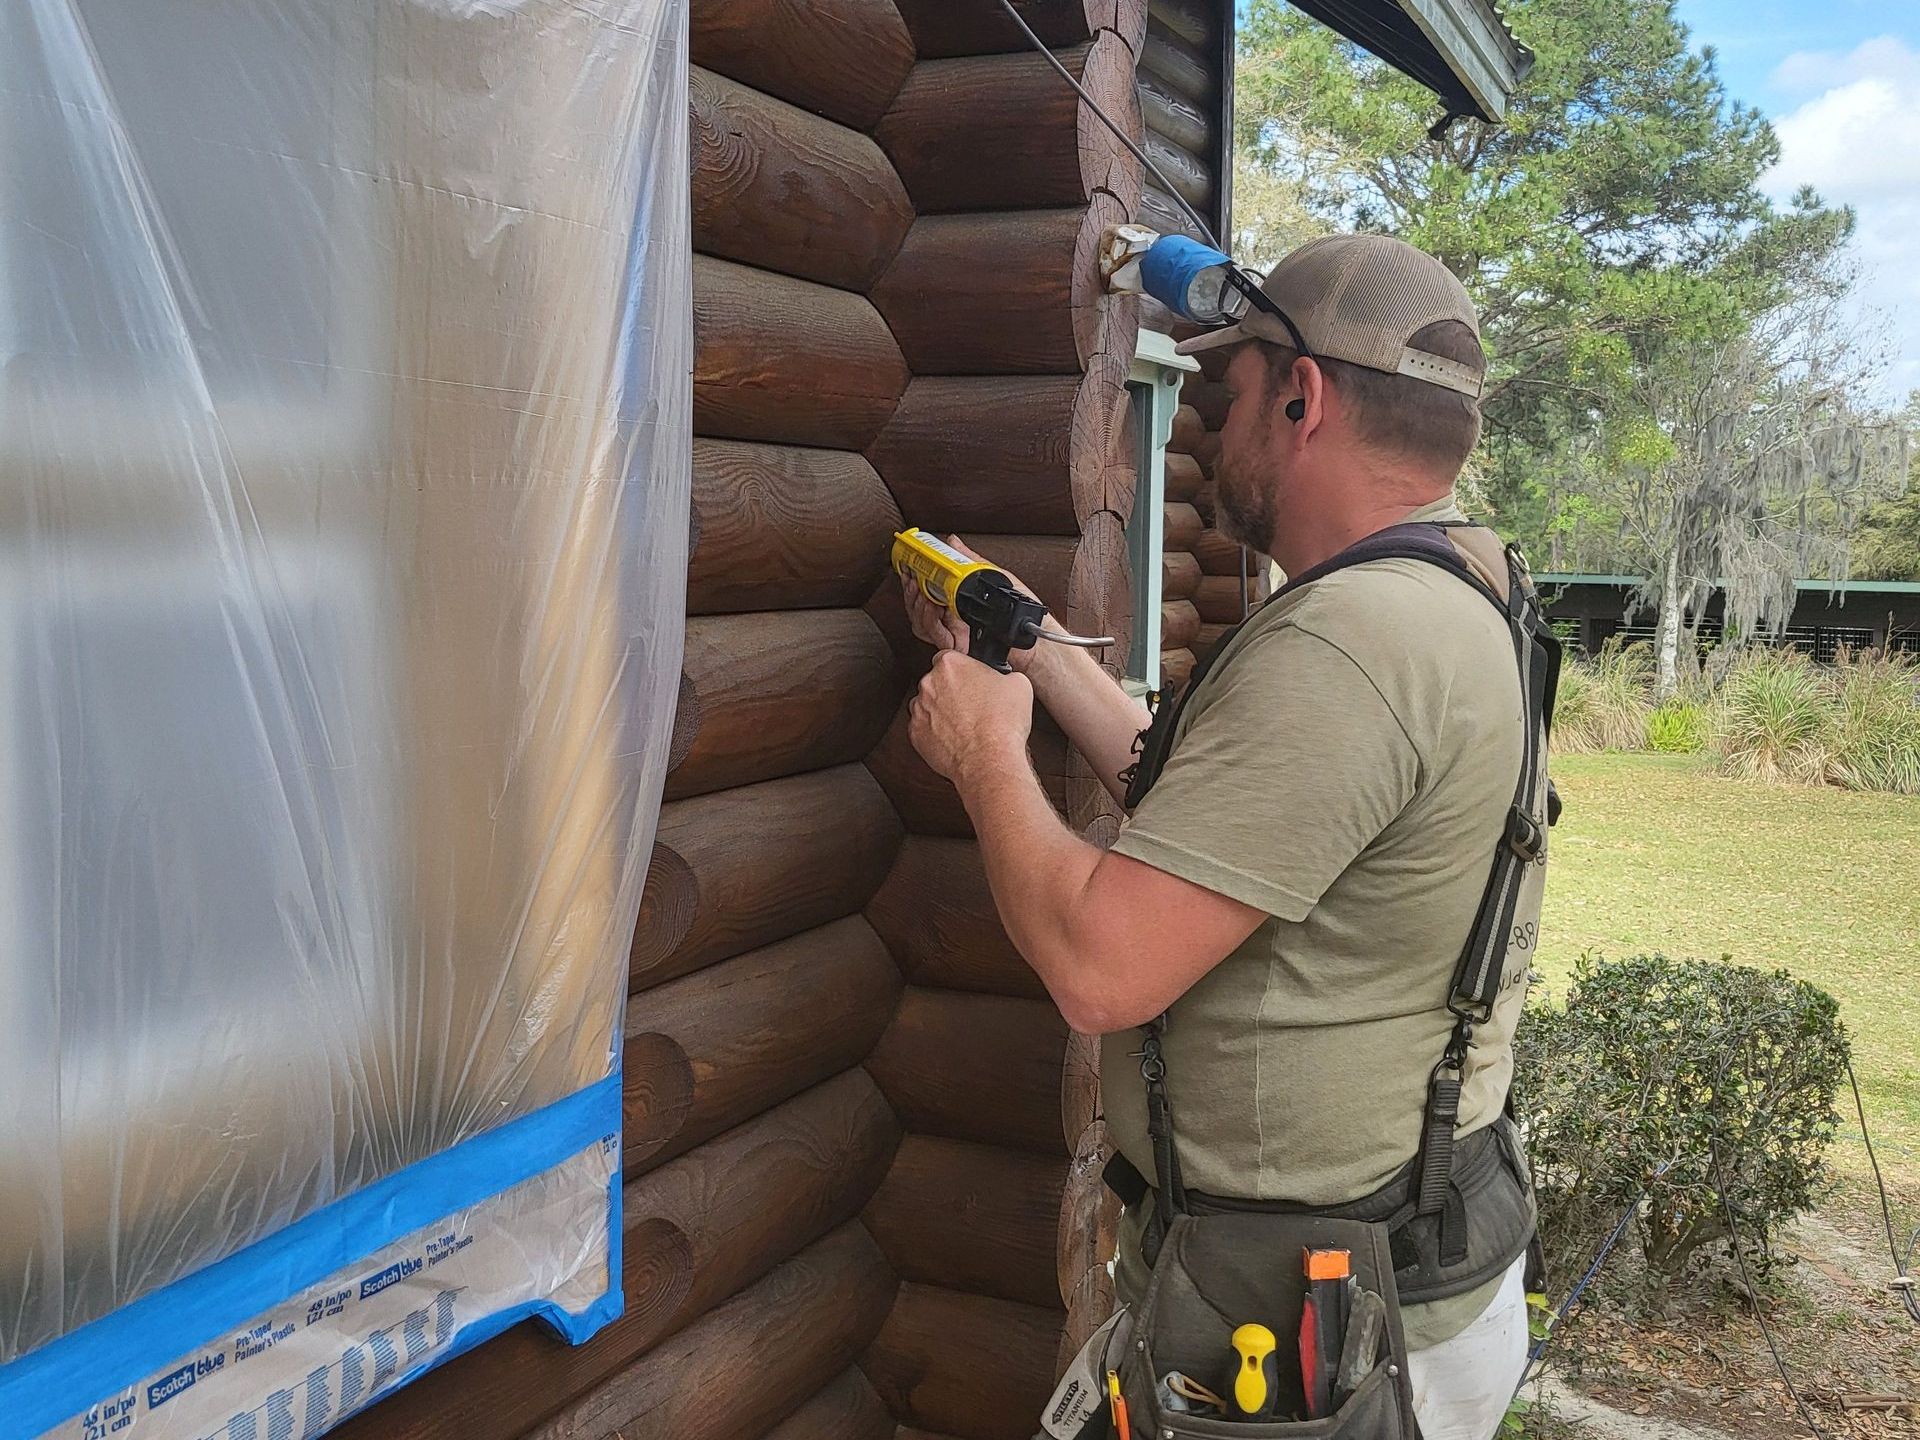
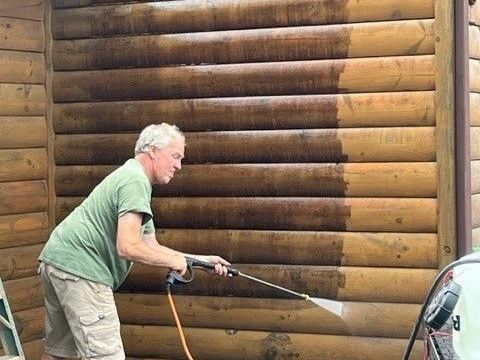
Another design to consider is whether your logs will need chinking. Chinking on the exterior of a log home will add significant additional maintenance to your log home. It may add that contrast and historic look that is desired but be mindful that log home chinking will need to be repaired routinely and it may cause the protection system to be applied via brush vs spraying. This is dependent on what type of staining and protection system you use on your logs. On homes with chinking, it is extremely less costly to have a protection system that has a clear topcoat that can be sprayed over the chinking during routine maintenance. This prevents hand brushing the log sections only. This is a huge expense that in many cases is not considered in advance. In almost all cases blasting and converting to a water-based system with a clearcoat will be better value in the long run in these scenarios.
6) Corner Profile
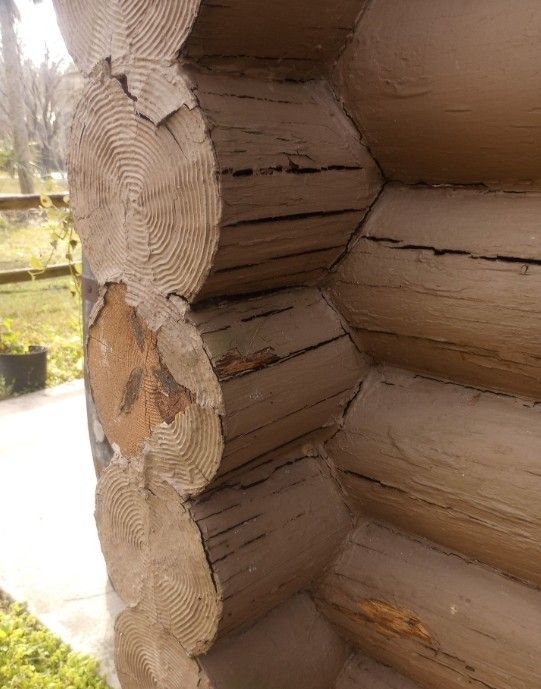
The next design decision is the corner profile. I know the Butt and Pass style corners are the vast majority of what you see out there and give you that traditional look. They also create a significant number of flat surfaces where water can accumulate, especially when they hang out past your roof overhangs. If not sealed correctly, these areas are usually one of the first places where we start seeing log rot accumulate.
Dovetail corners are a good option. Some of the log home manufacturers have corner trim recessed back into the logs for a clean profile. This decision does make a huge impact on the final aesthetic look of your cabin so this is something to consider.
7) Foundation Design
Another area where we tend to see a lot of log rot form is on the bottom log or two around the perimeter of the home. This is usually due to the design of the foundation. It is all too common to see areas of the home where rainwater hits the ground and splashes on the bottom 2 to 3 rows of logs causing issues. I highly recommend having your masonry foundation up 3 feet above ground level. This will greatly reduce the chances of log rot in those areas.
8) Landscaping
Another factor in the same area around your cabin to consider is your landscaping. You want to leave a minimum air gap of 2 feet, though 4 feet is ideal, between your shrubbery and your logs so there is airflow, and they can dry out if they do get moisture on them.
Another item to consider is what I call “Softscaping”. Make sure any of the landscaping inside that 4’ perimeter is soft. You want it to absorb the rainwater and direct it towards the ground. Consider the rain that just barely misses the gutter when it’s raining. What is that water going to hit and splash onto? If the terrain is “hard” like a concrete walkway it may be directing a lot of water onto the bottom 1 to 3 rows of logs. This is an area where we see a lot of log rot develop very quickly. Another area prone to excess moisture due to splash is areas around exterior HVAC Units. Water hits the top of these units and splashes onto the log walls in an arc. These areas may be worth looking into installing some Borate Rods for an added layer of protection or installing a porch or shed roof over them.
9) Deck Attach to Logs
Another area where we see a lot of log rot is where your decks attach to the logs. Far too often, even when flashing is utilized, a scenario is created where water splashes off of the deck, runs down the logs, runs behind the bandboard that attaches the deck to the log home, and gets trapped. The log starts to rot behind the band and is not evident for several years until the deck settles or the rot extends out past the band where it can be seen. Contractors need to be very intentional about how to keep water out of this area.
10) Type of Protection System
And, I have saved the greatest factor for low log home maintenance for last. The most important factor in a low-maintenance log home is the type of protection system that is used on your log home. I wish I could tell you that there was a “BEST” protection system for all scenarios, but I can’t. What type of product is best for you is dependent on several factors such as personal aesthetic preferences, cabin design, environment, etc...
With that said, you need to be sure that you are working with an experienced log home expert, preferably during the initial application of a protection system on your log home, or at least consult with one to make the decision on what products to use. There are also additional products such as a borate treatment that can be applied to the bare logs that can significantly increase the longevity of your wood that needs to be applied before any stain system is applied.
Protect Your Log Home with Log & Timbers Today
Here at Log & Timber Solutions we can assess your log home design features and walk you through the advantages and disadvantages of each type of log home staining system and help determine what is best for your specific scenario. Be cautious of the company that says, “Oh we use X product on all our log homes, it is the best.” I have seen this cost log cabin homeowners hundreds of thousands of dollars over the life of a log home in maintenance that could have been avoided.
I hope the above information helps. Feel free to give us a call today to help with your dream log cabin.
-Dustin Hoffman

